- First, go to https://auth.phoenyxnest.com
Steps 1 - 3 walk you through all the essential steps you need to join us on Matrix, and steps 4 - 6 give you some additional info to make it your own!
Matrix is an end-to-end encrypted messaging protocol (like Signal!) that is both open source and self-hostable, but functions more like Discord. The Phoenyx Nest is now hosting a Matrix server!
End-to-end encryption means that no-one can read the messages on The Nest server who hasn't been invited, and no one, not even the admins, can read private chats like your DMs.
The server supports having many different rooms (equivalent to Discord's channels), voice and video calling, and custom emojis and stickers!
The server is also set up with two levels of vetting in order to join, first to make an account, and second to be added to The Nest space itself. The server is also not federated, meaning that is is isolated from the larger Matrix network, and people must pass through the vetting steps in order to access it.
The server hardware is rented from the German company NetCup, and is physically located in Nürnberg, Germany. NetCup has strong privacy policies and is not directly subject to US regulations, and German privacy law is generally far stronger than the US.
Sign up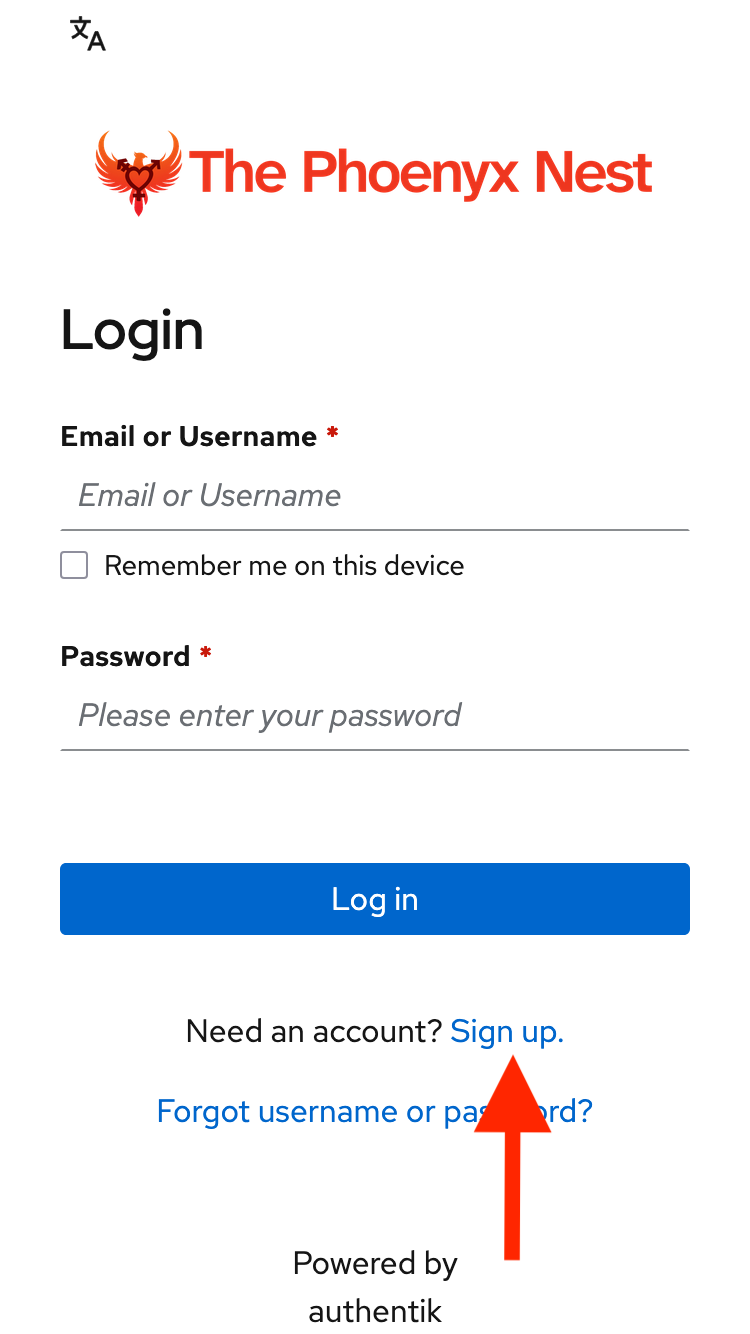

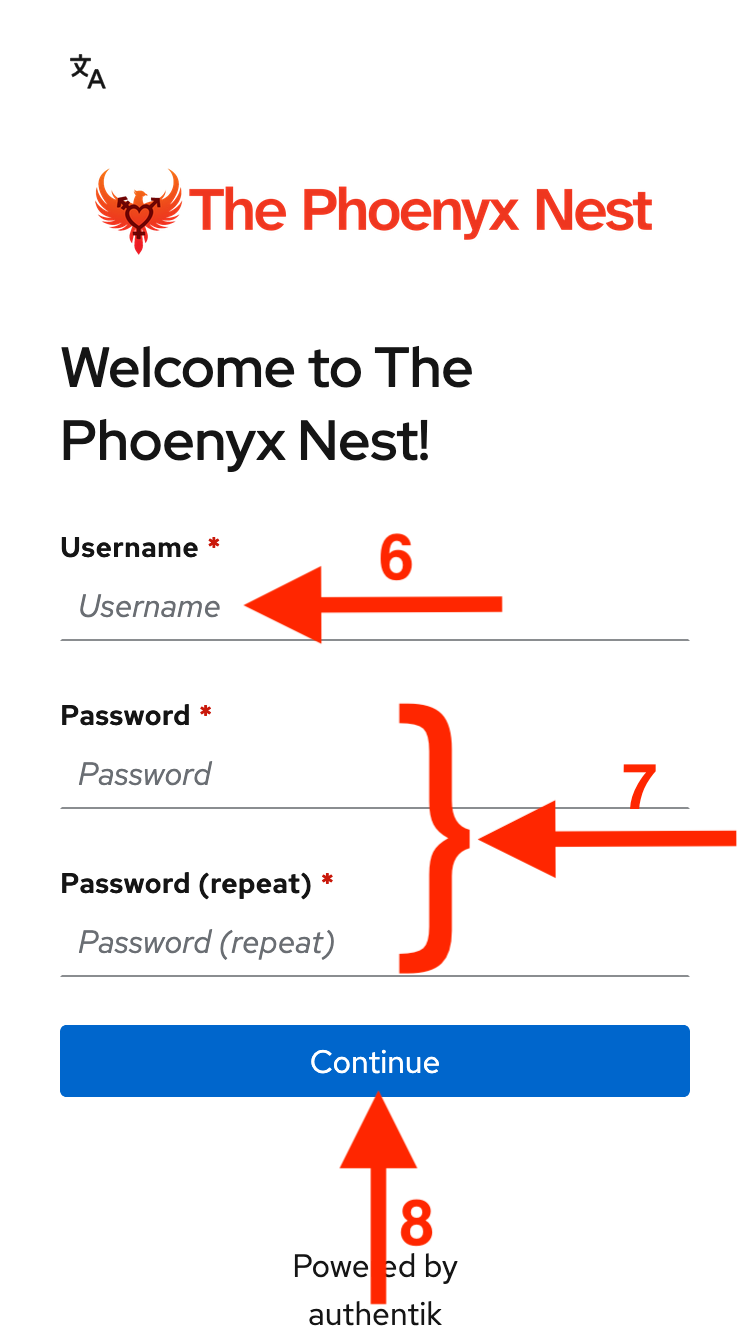
Continue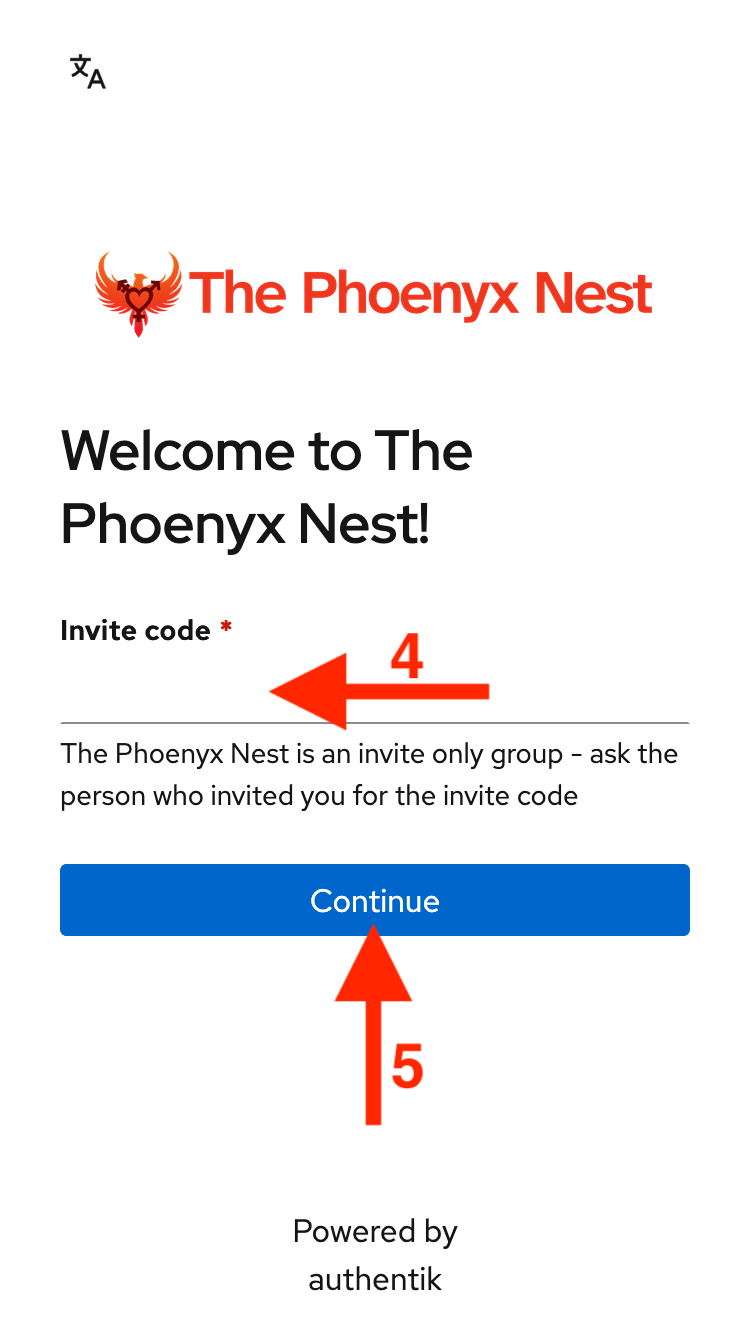
ContinueNote:
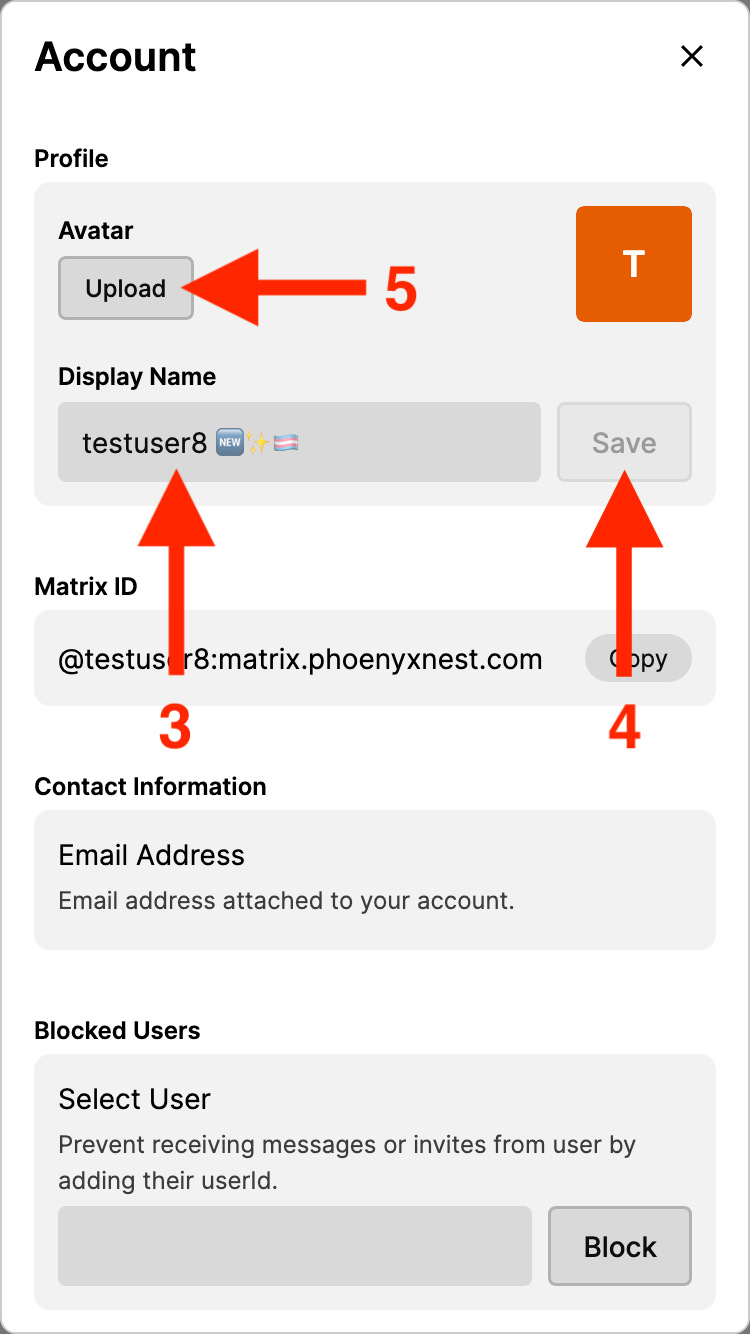
Your username (which will show as @username:matrix.phoenyxnest.com) cannot be easily changed, but you can easily change your display name at any time.
Continue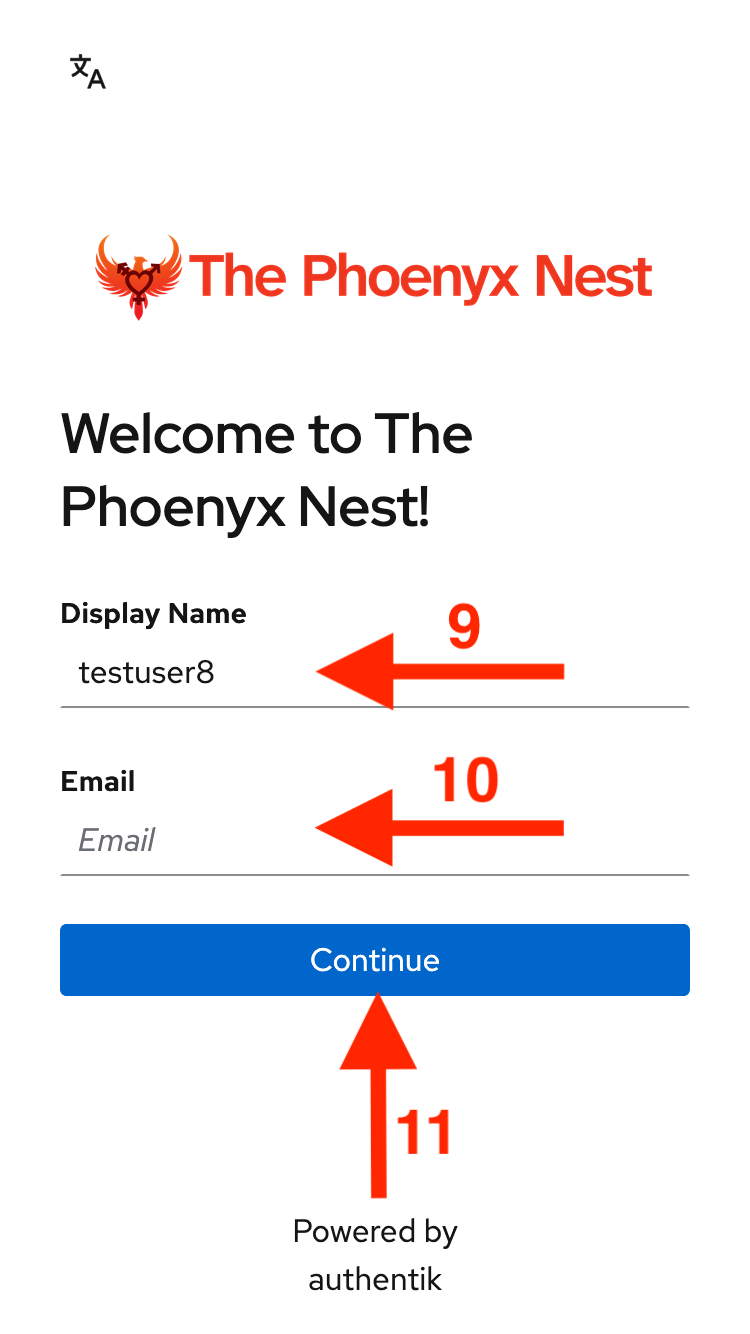
Matrix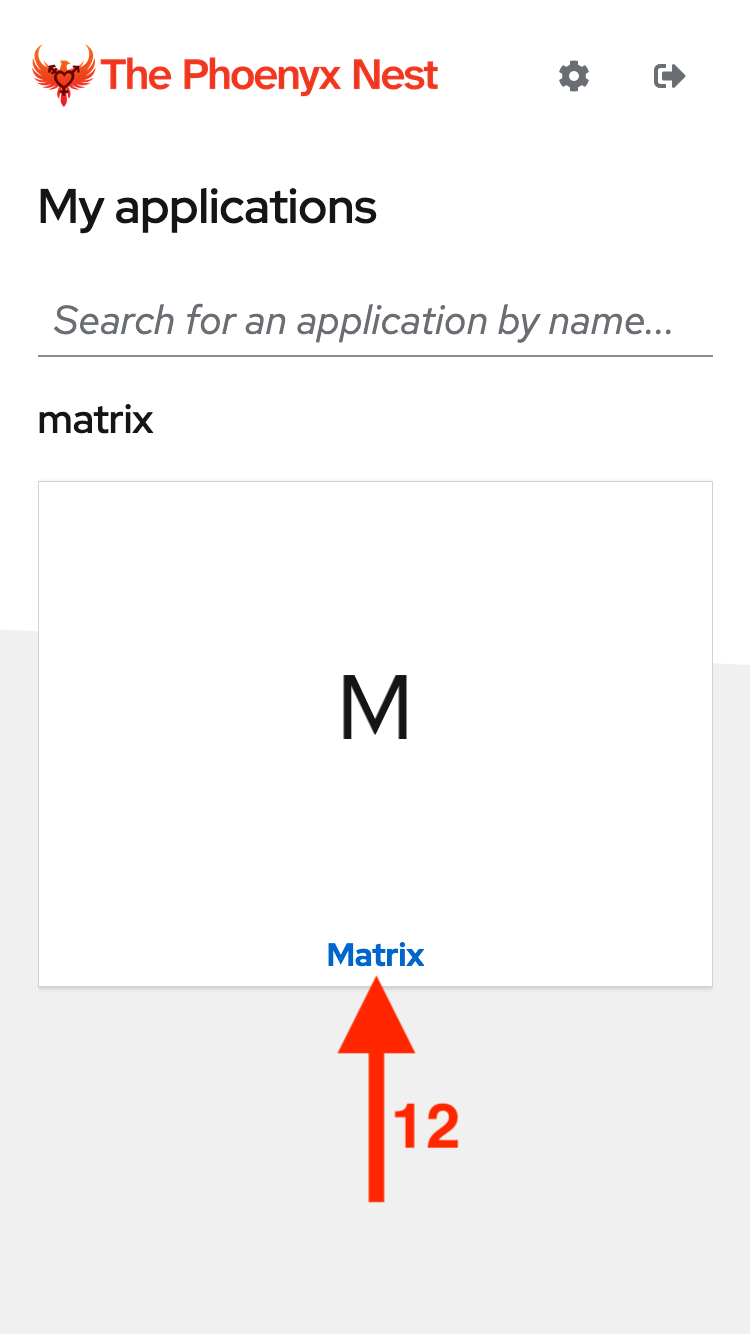
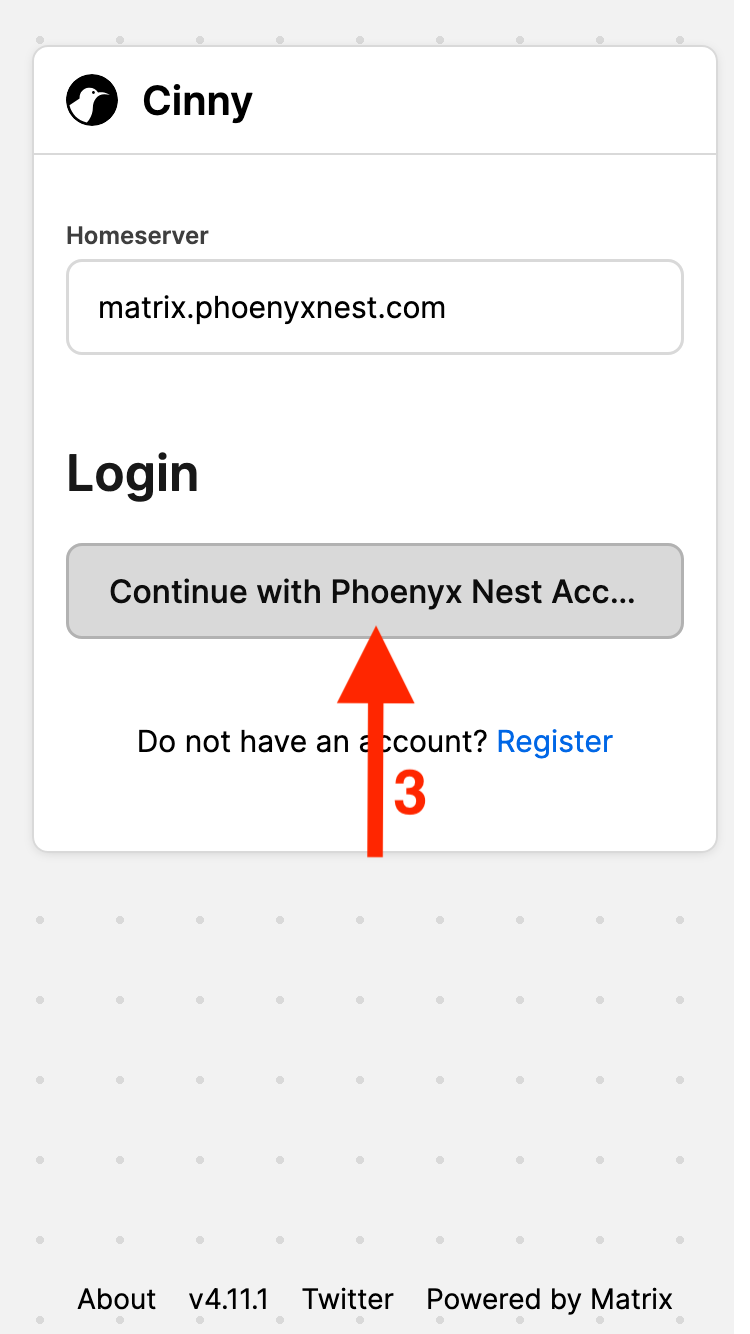
By creating an account, you're now able to log into the Phoenyx Nest Matrix server (equivalent to Discord as a whole platform), but you'll need to be invited into The Phoenyx Nest's space (equivalent to a Discord server).
Continue with Phoenyx Nest Account
Checkpoint:
You've now joined The Phoenyx Nest Matrix "Home server", the equivalent to joining Discord as a platform. Lets take a brief moment to go over the UI, and then we'll have you join The Phoenyx Nest's space.
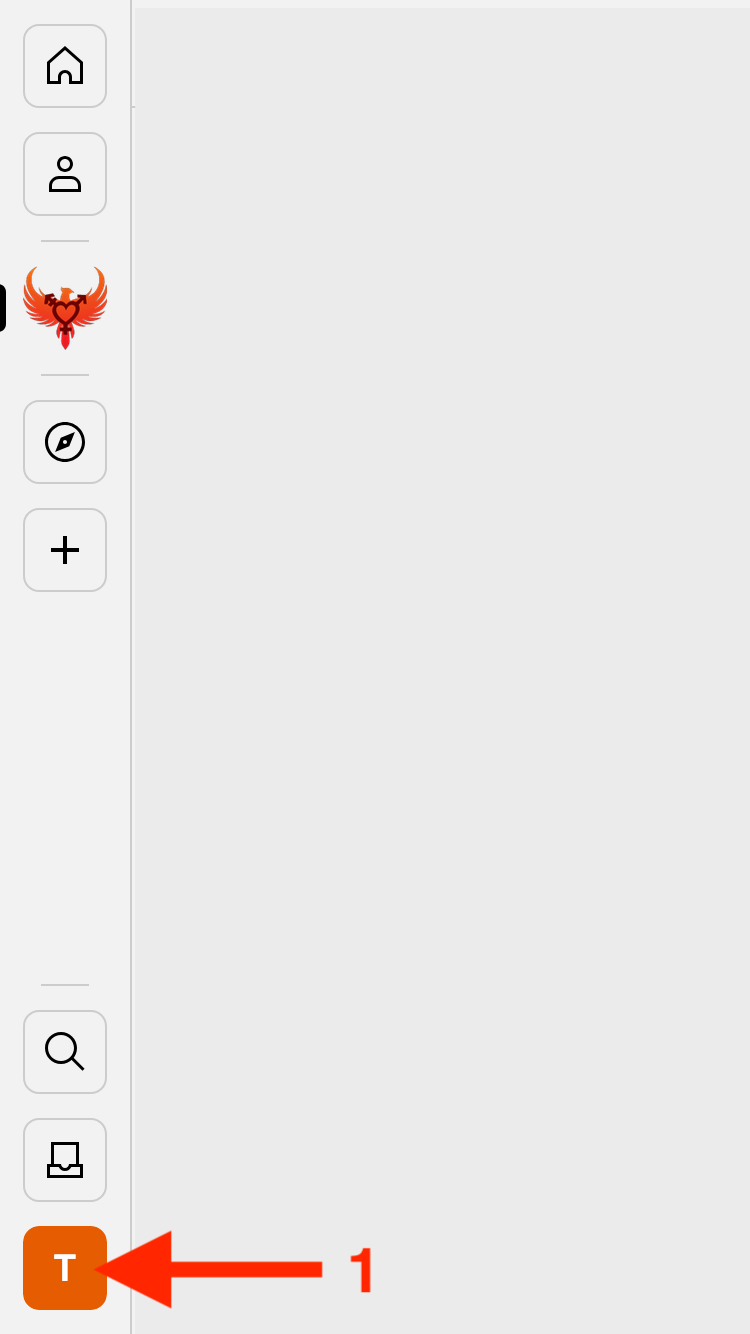
On the left side of your screen, there is a sidebar which lets you navigate to:
We'll talk about all of these more later.
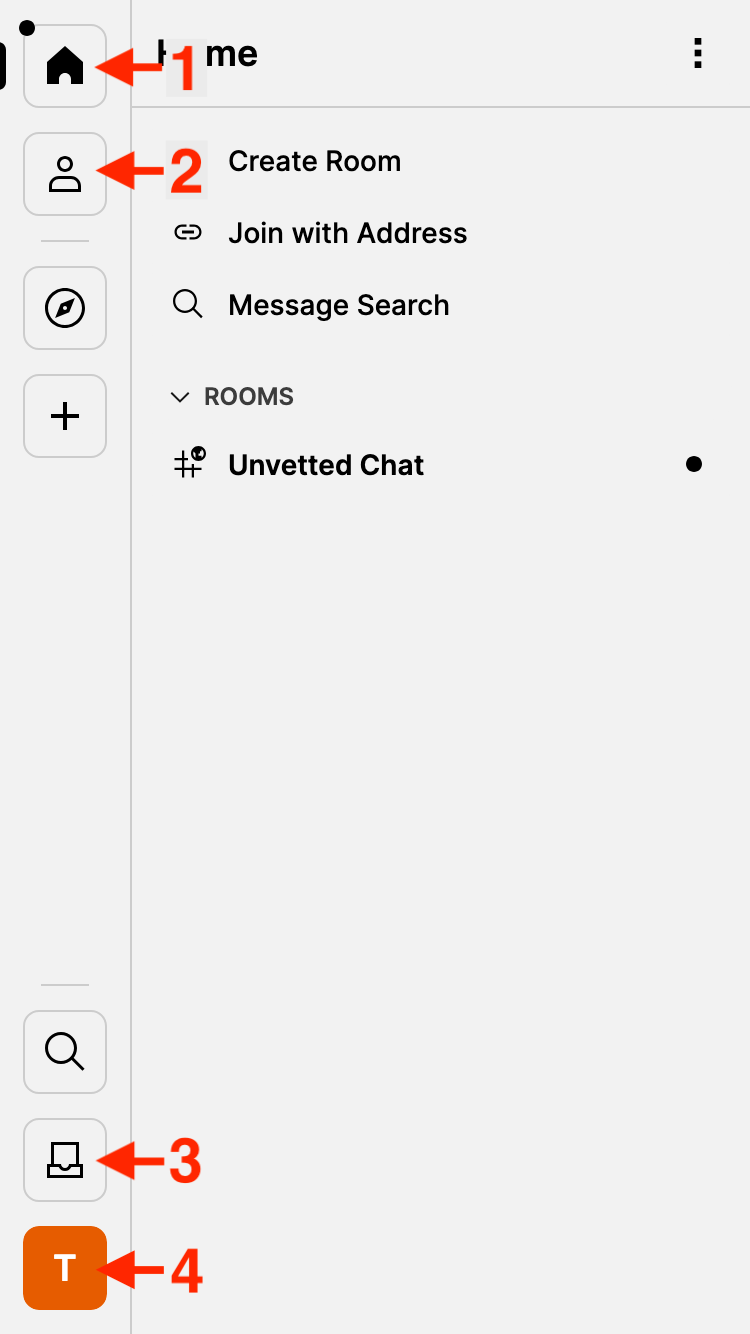
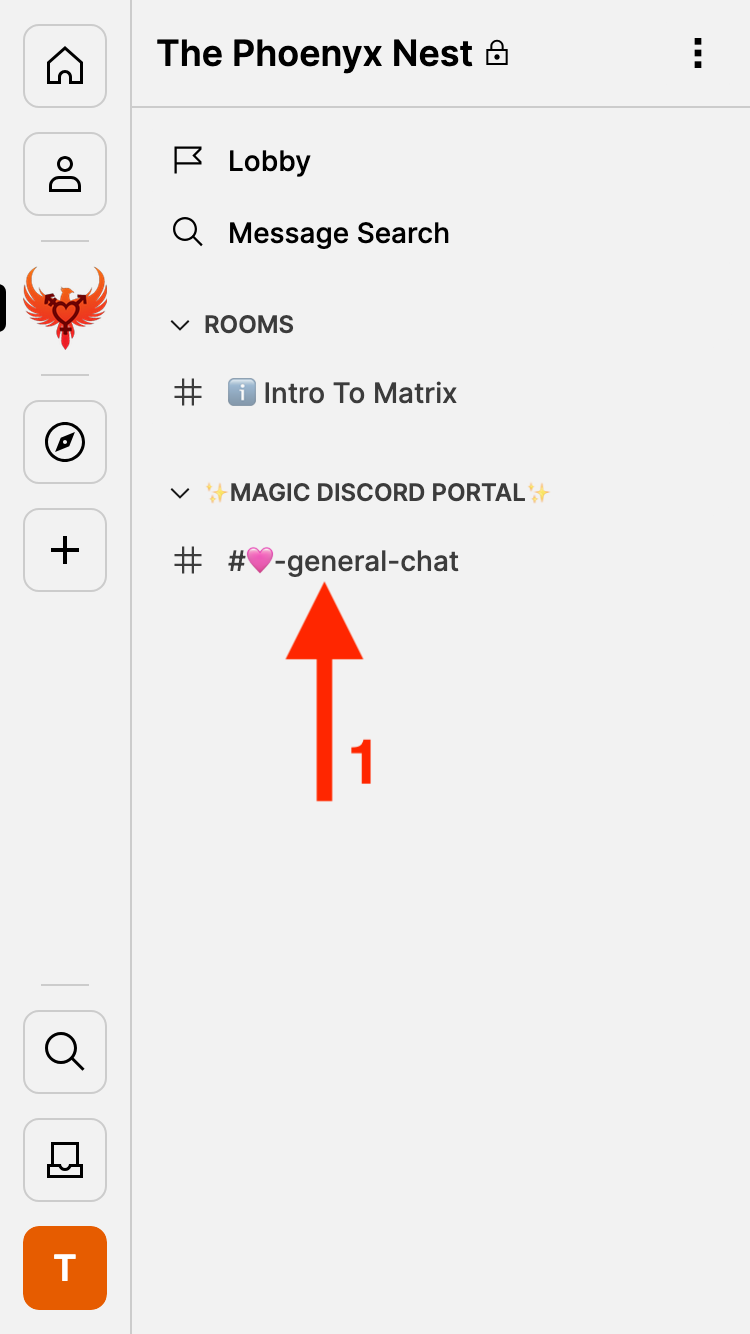
In the center of the screen, you can see a list of the Rooms
that you are in. When you join the server, you get added to
Unvetted Chat.
Unvetted Chat
to open it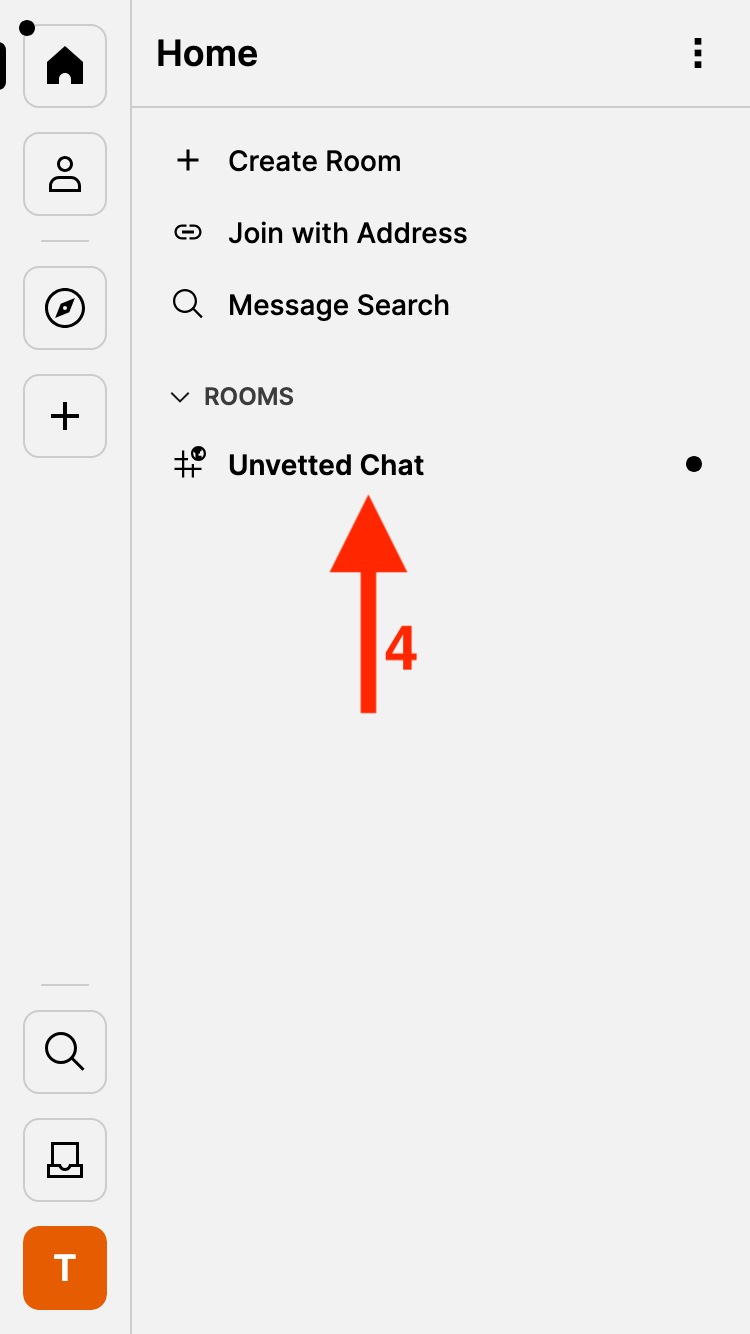
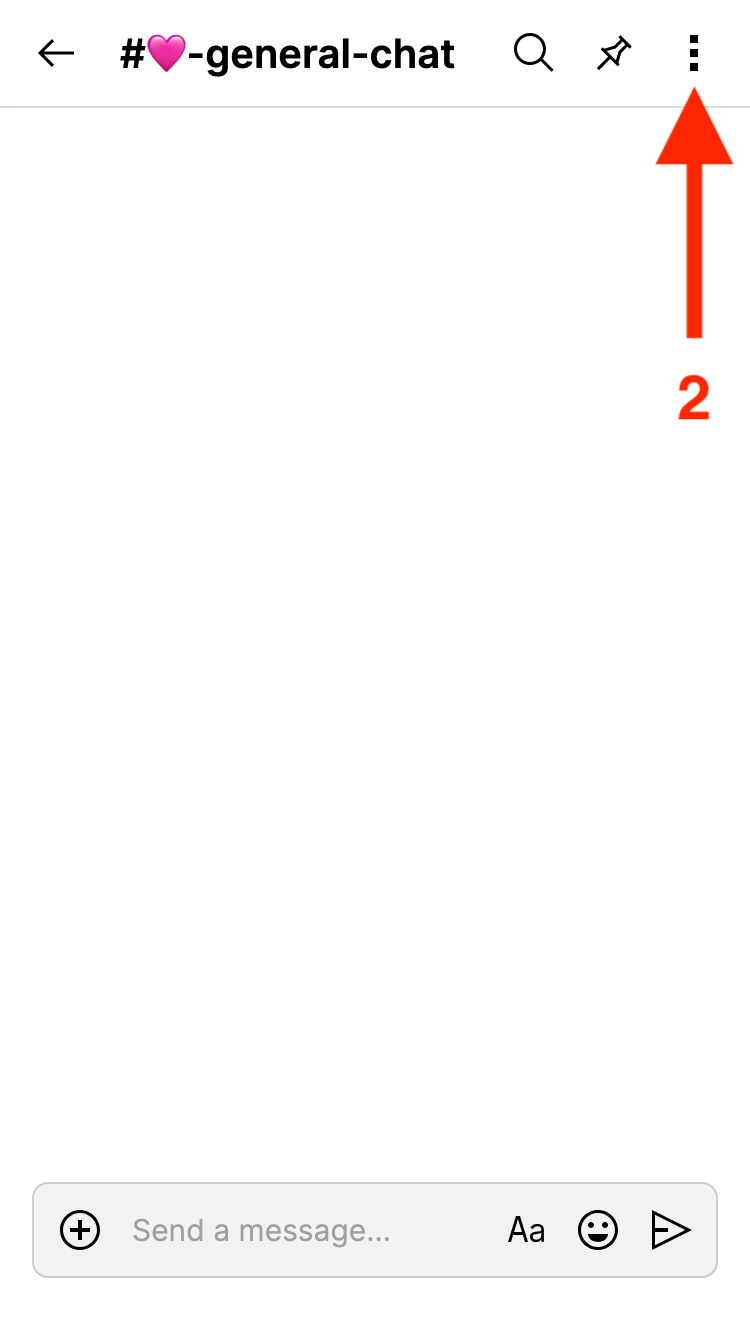
Send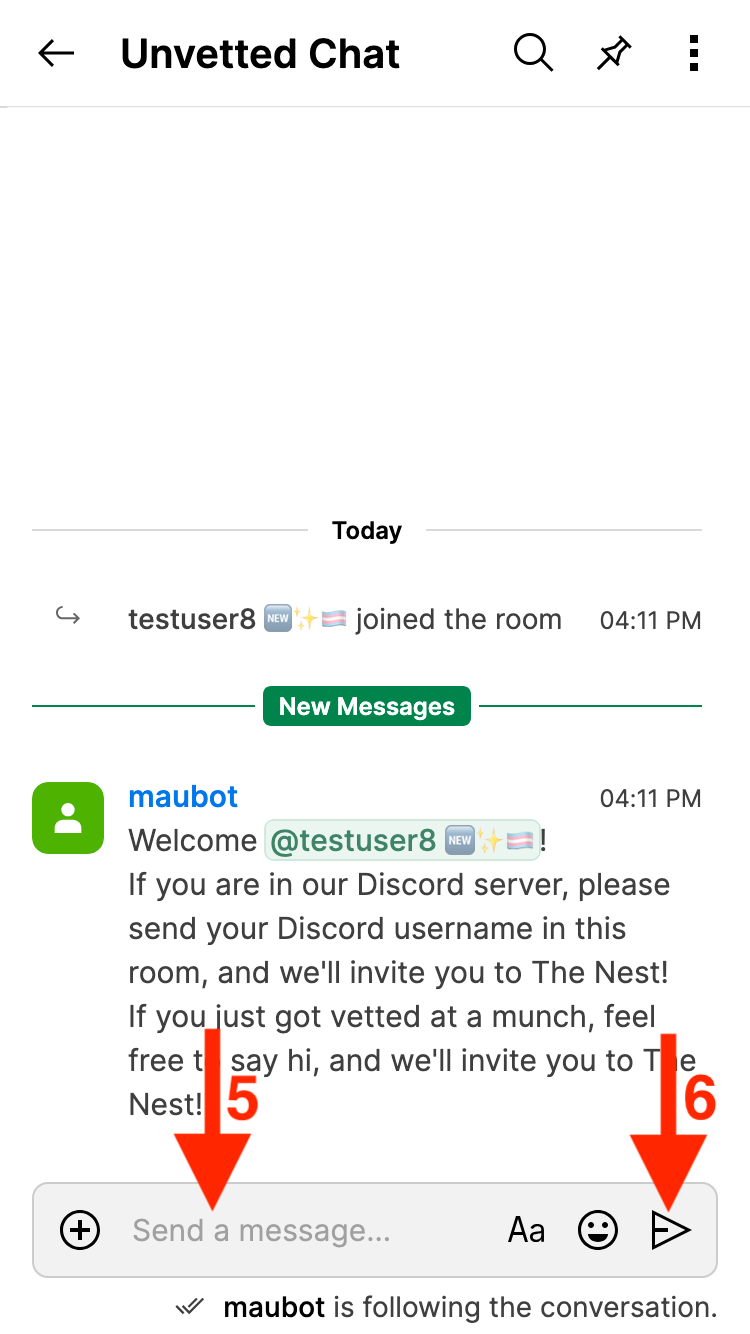
Checkpoint:
After an admin sees your message, they will double check that you are vetted, and then will send you an invite to The Phoenyx Nest's space. This might take a second, especially if a lot of new people are joining at once!
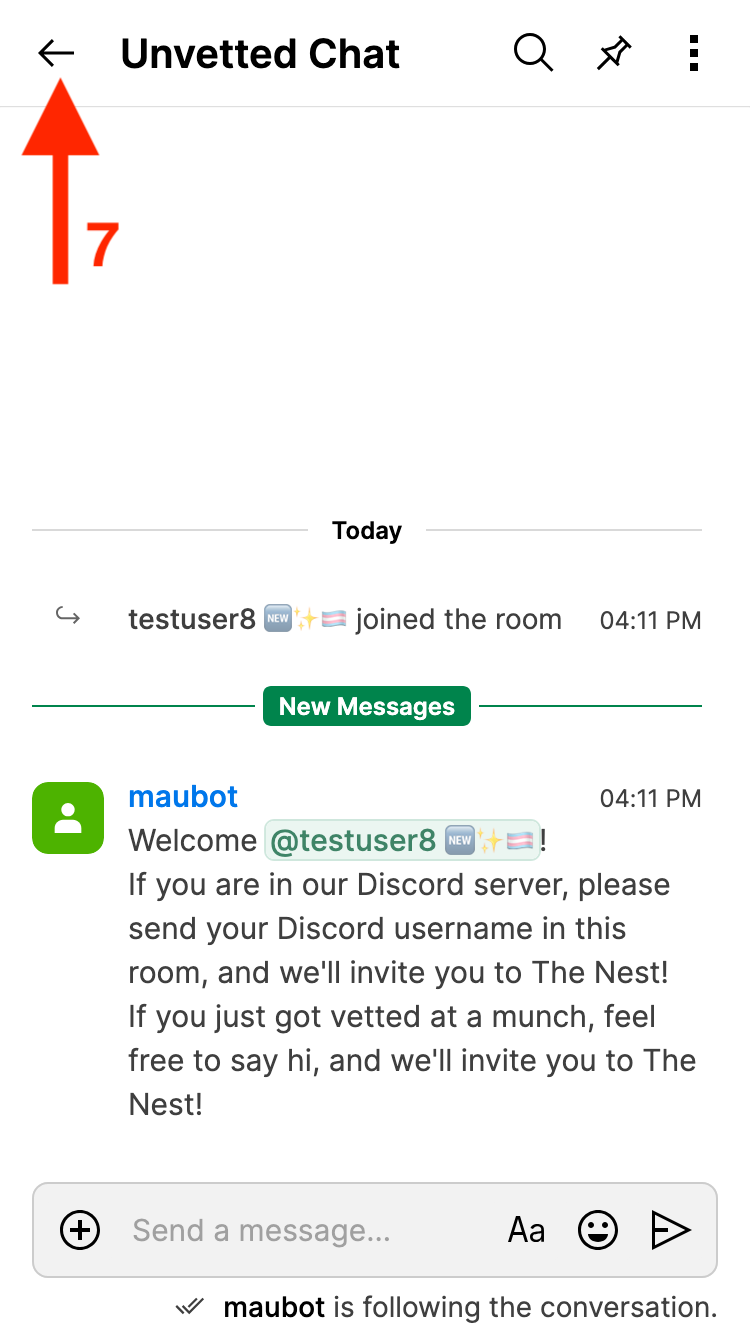
Back
Inbox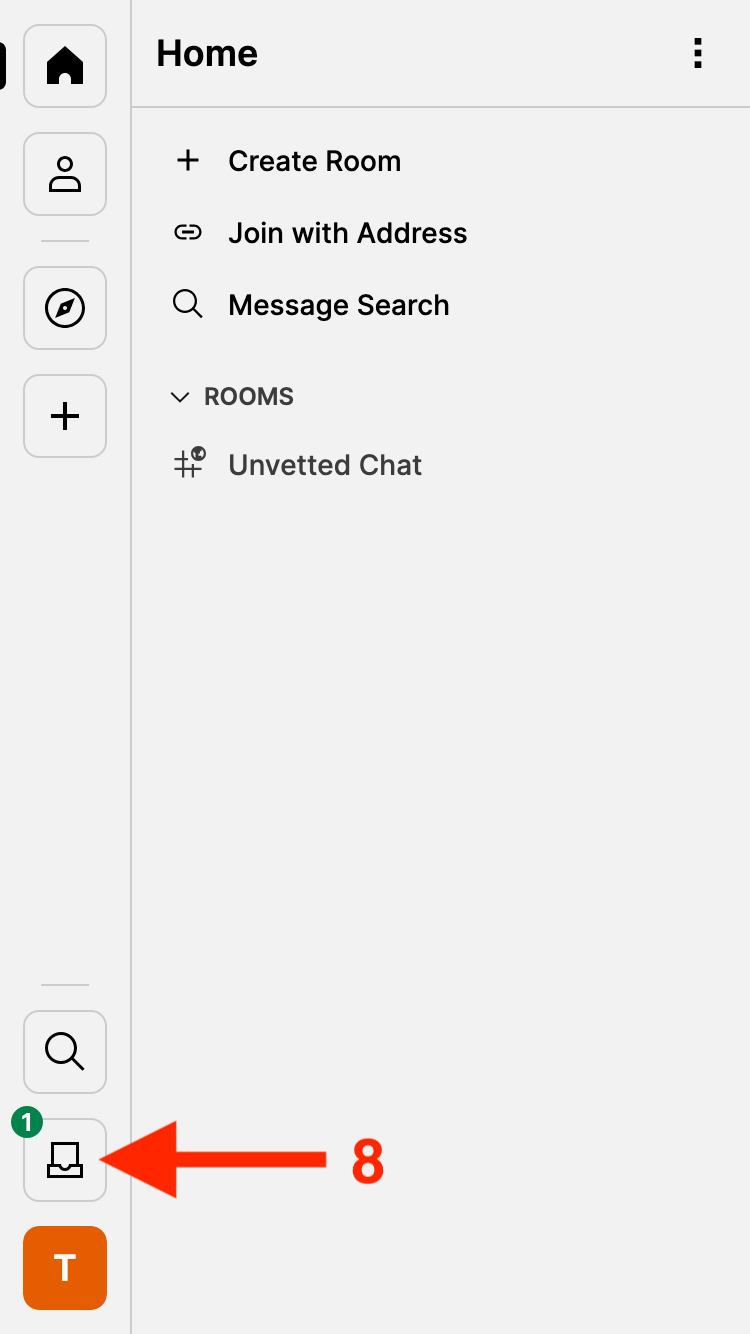
Invites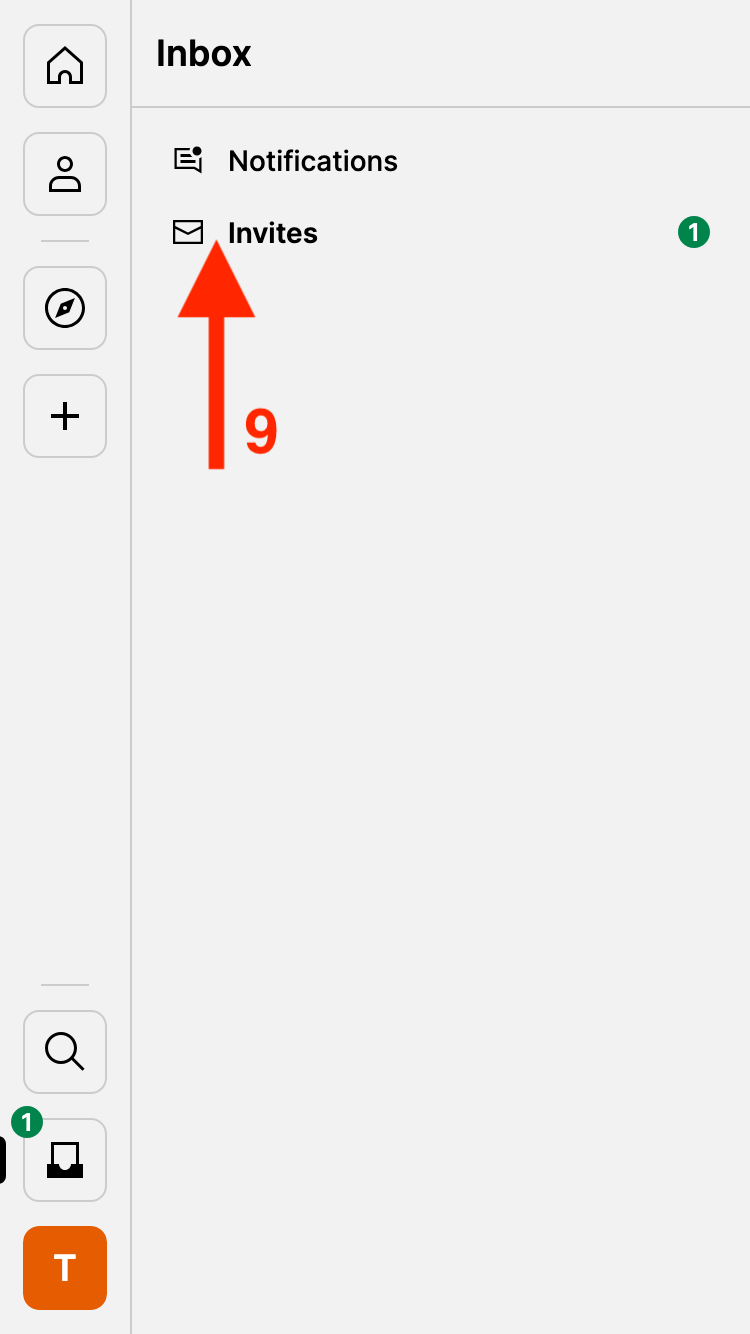
Accept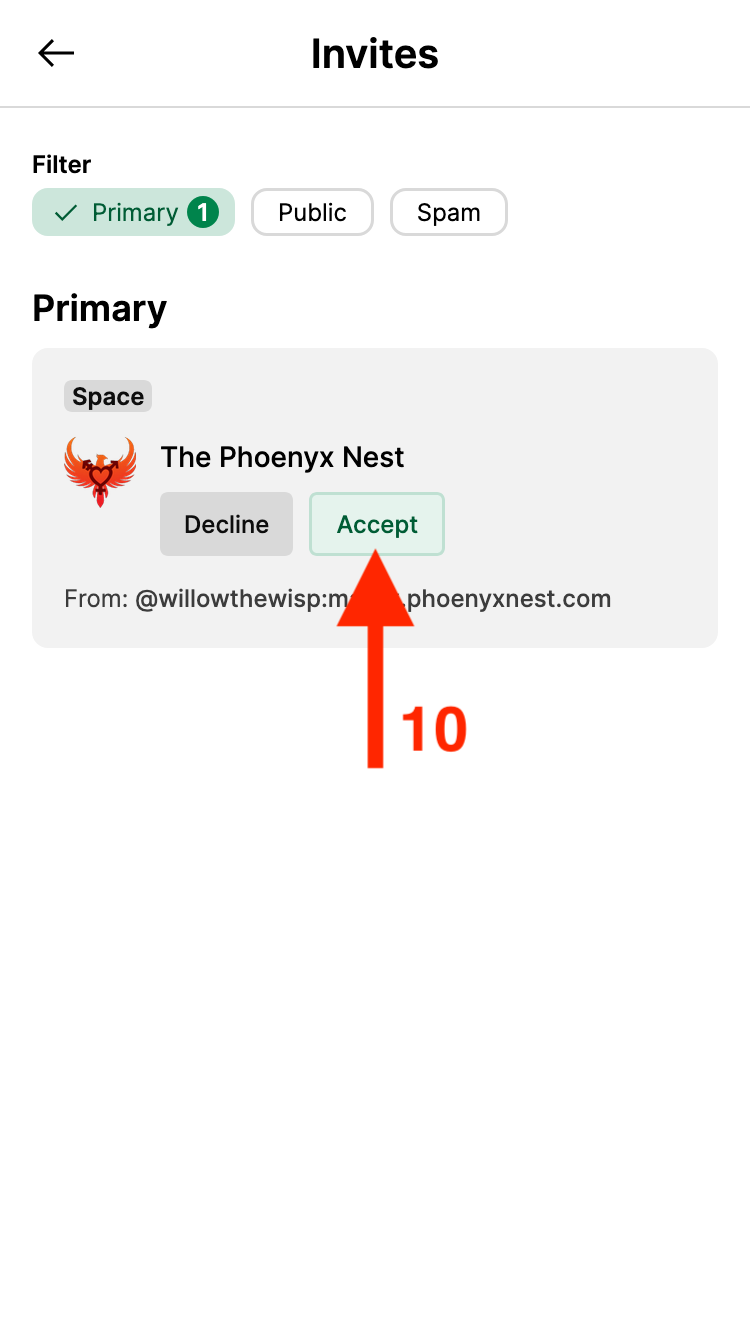
The Phoenyx Nest's space will automatically open, and you can see it in the left sidebar, similar to a Discord server.
Note:
Unlike Discord, where you see all of the channels in a server, in a Matrix server, you choose which individual channels you want to join, or to leave later.
Lobby
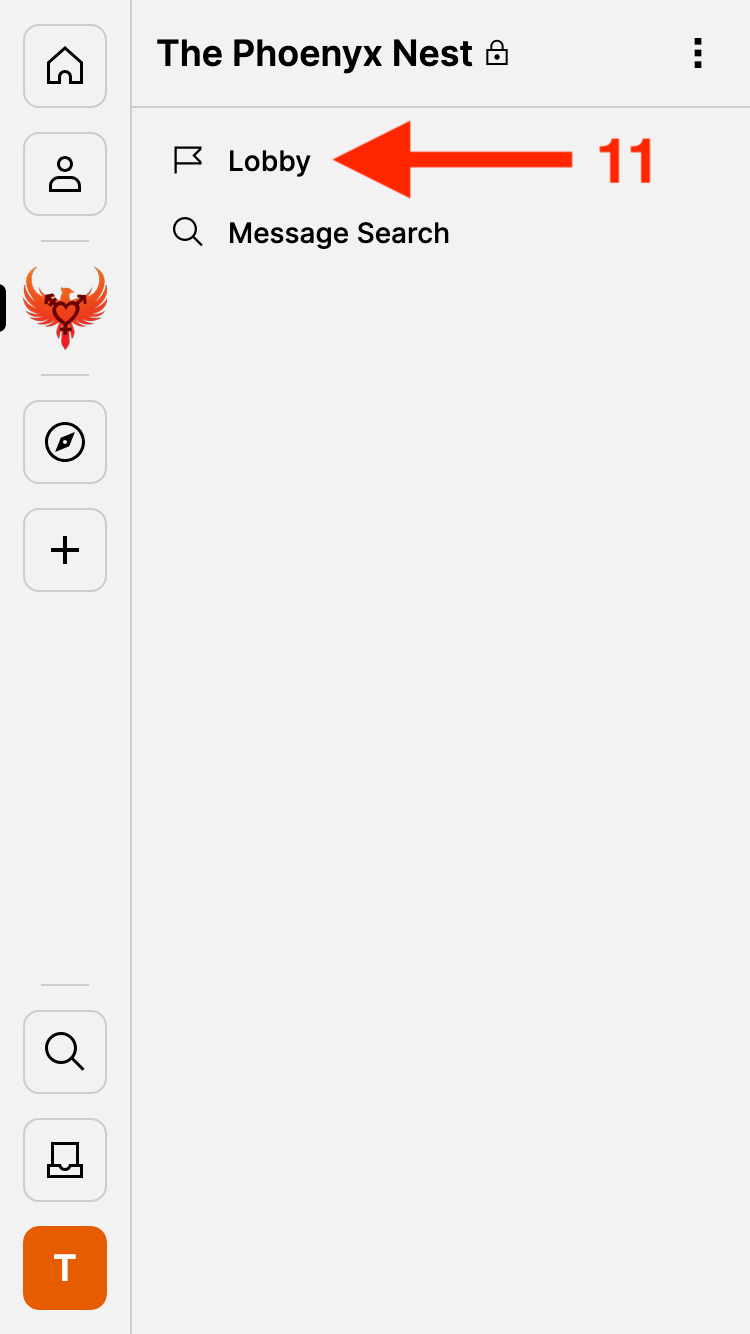
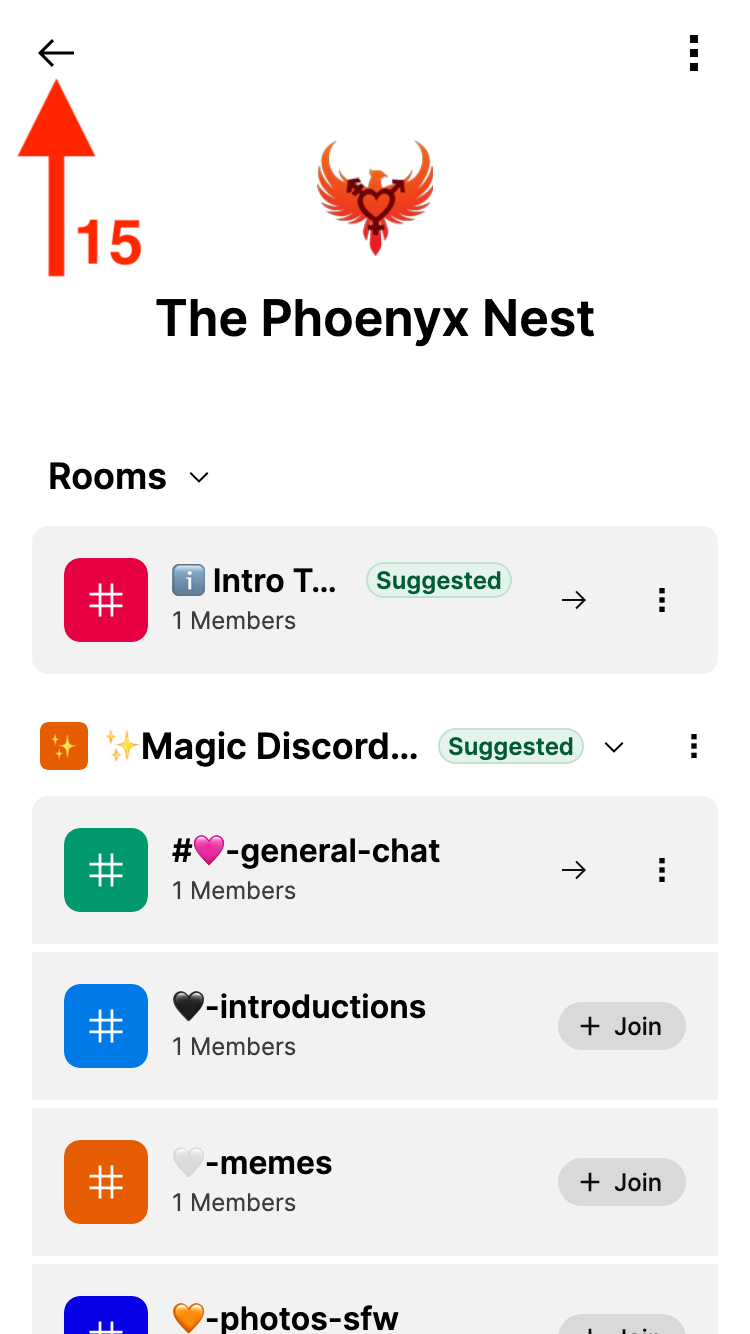
You can now see a list of rooms, and the four public "sub-spaces" (I know 😉) in The Phoenyx Nest!
Intro To Matrix, press
the Join
button
Phrolicking Phoenyx, press the name itself,
or the small plus icon
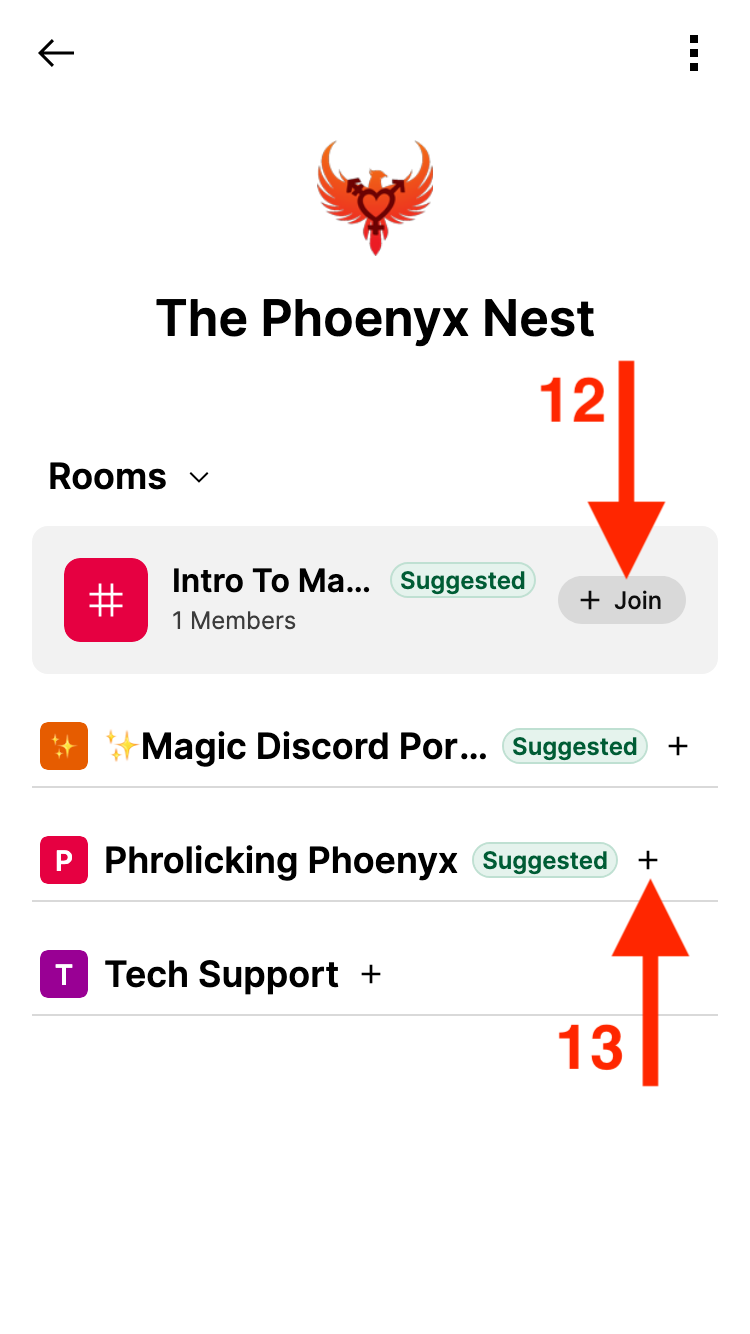
✨Magic Signal Portal✨, which is a bridge between the Signal announcements chat and the Matrix server. It allows vetted people to see the announcements posted to the Signal group from within Matrix, so you can read all your Nest related messages in one place!
✨Magic Discord Portal✨, which is a bridge between
the Discord server and the Matrix server. Every message sent in
Discord shows up on Matrix, and visa versa. This is temporary
for during the transition to Matrix, and will eventually will be
replaced with encrypted Matrix rooms.
Phrolicking Phoenyx, which is the encrypted space
for NSFW channels and conversations.
Tech Support, which is where you can ask for help,
report bugs, and suggest custom stickers and emoji to add to the
server!
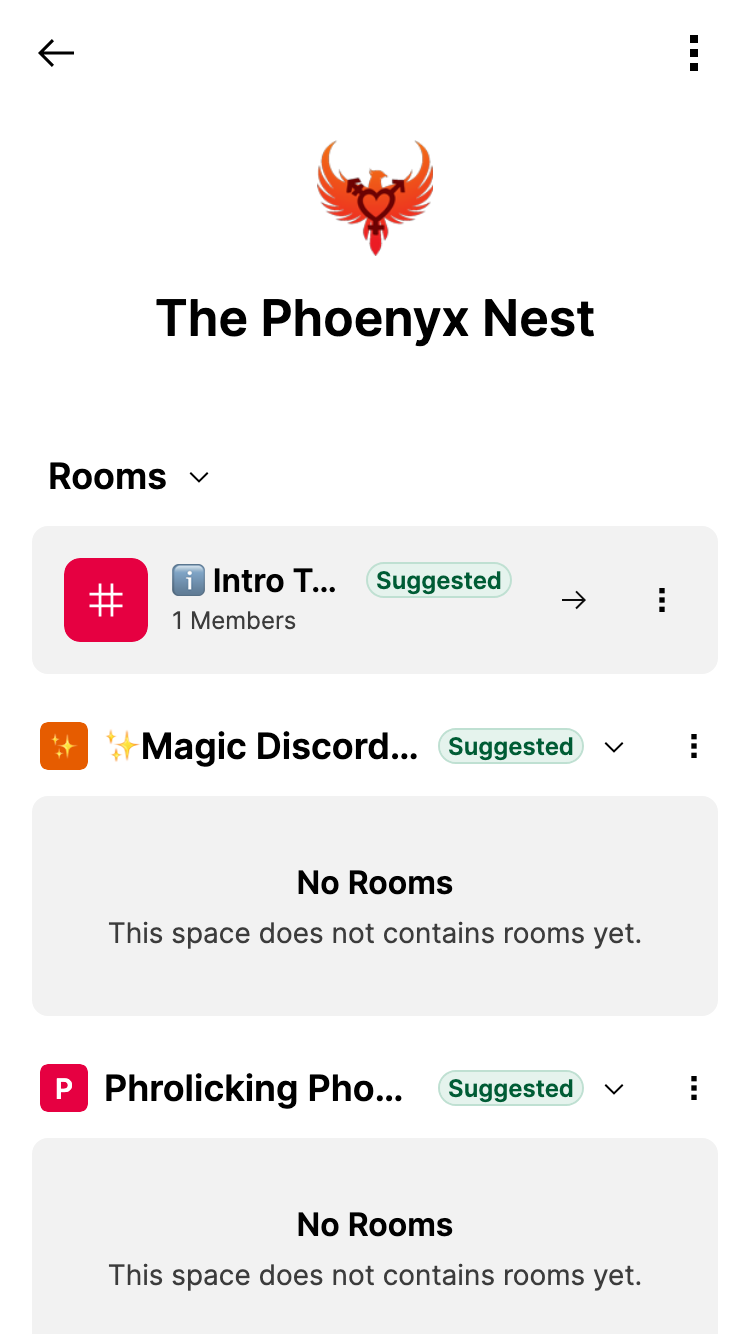
Known bug:
When you first press join on the sub-spaces, they will
say
No Rooms
Please refresh the page, and the rooms will load
Join

Back
This interface now looks and functions very similar to Discord, and you can press any of the room names to view that room.
Encrypted rooms will show only "Unable to decrypt message"
When you first join The Nest, and look in any of the encrypted rooms (which is all of the non-Discord ones), you will see a lot of messages with the text Unable to decrypt message.
This is an essential part of how end-to-end encryption on Matrix works, and it is a good thing for privacy and operational security! It means that even if someone who wasn’t supposed to be in a room got in, they can’t see the old encrypted chats.
This protects both the Nest as a whole, and also any private messages and groups you may have with other members. You will be able to see all of the new messages that are sent in the future.

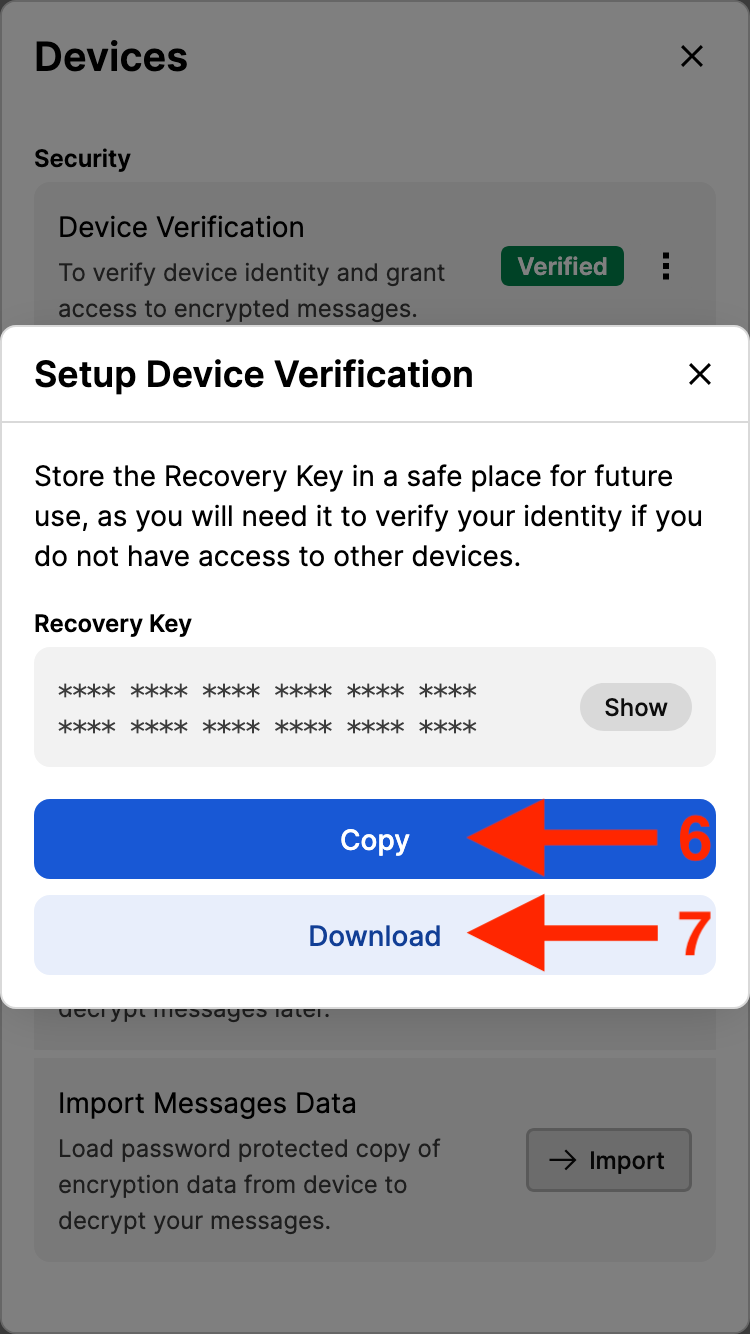
Before you do anything else, you’ll want to create a Passphrase and a Recovery Key for your account! Matrix is end-to-end encrypted, which ensures that no one else can read your messages, including admins at The Nest!
When you log into a new device / window with your Phoenyx Nest account, you’ll need to verify that it is your device to access your old messages. This ensures that even if someone gets access to your account, your messages still stay protected.
There are two ways of doing this verification. One is to use another device you are already logged into, but if you are logged out of every other device, you need to use a passphrase or recovery key.
You should create a Passphrase and Recovery Key as soon as possible, to make sure you don’t lose any messages.
User settings

Devices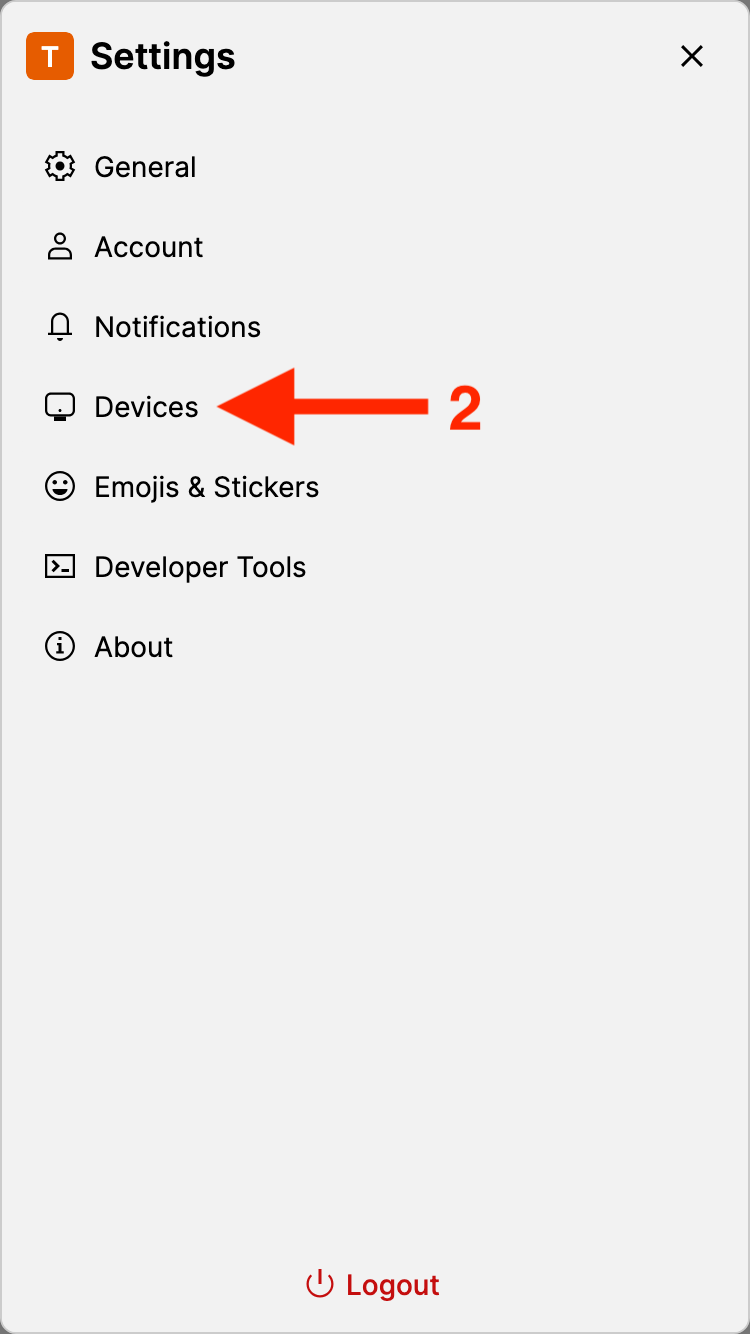
Device Verification, press
Enable

Continue
As part of this process, you also get a randomly generated
Recovery Key.
Copy
it somewhere safe that
you will have access to. Ideally, that would be a
password manager, but your Notes app or Email would also
work!
Download
a text file of the
key onto your device.
Please do at least one of these options!
If you forget your passphrase, and do not have this key, you will lose access to all of your previous encrypted messages.
You're now all set up on The Phoenyx Nest's Matrix server! The following sections give you more information on the fun stuff, like customizing your account, and sending DMs, but you can also stop here.
User Settings
Account
Display name, first press
your name, and make any changes.
SaveUpload
and choose and image from your
device
The easiest way to send a DM is to use the Member pane in one of The Nest’s rooms!
Room Settings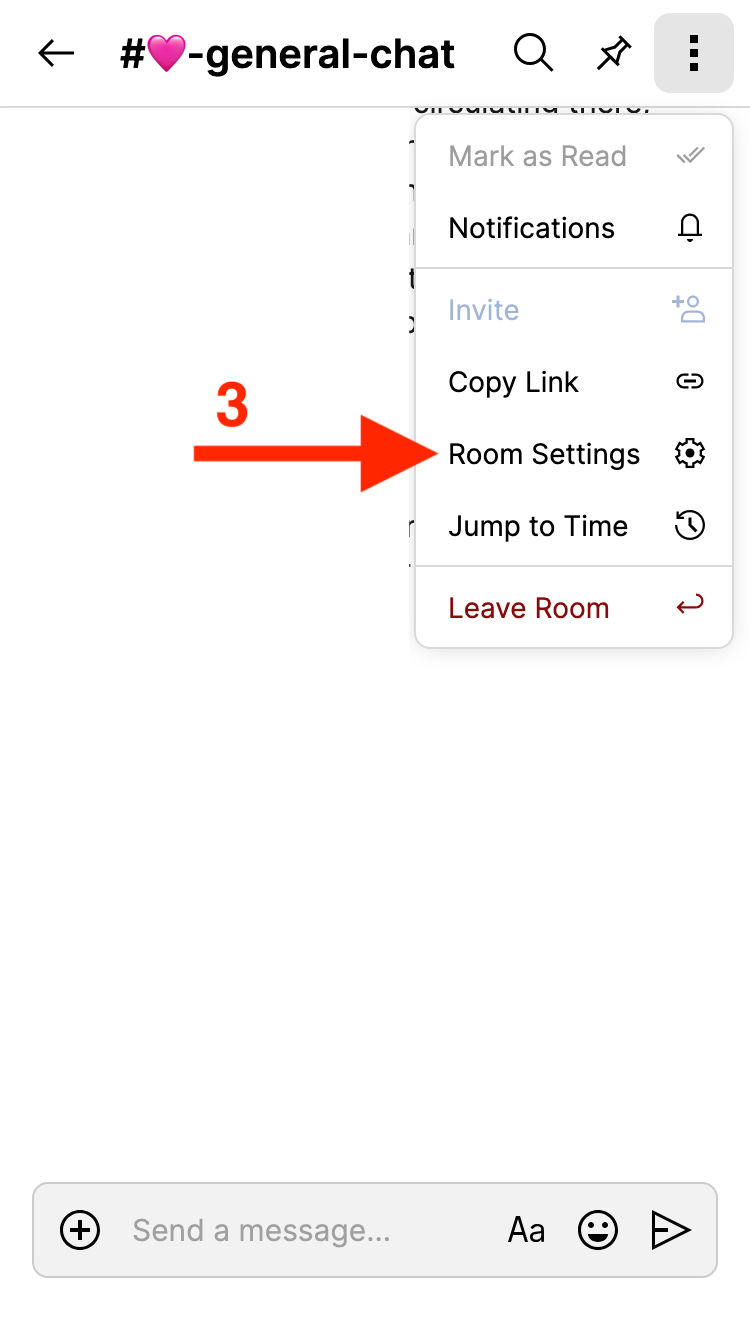
Members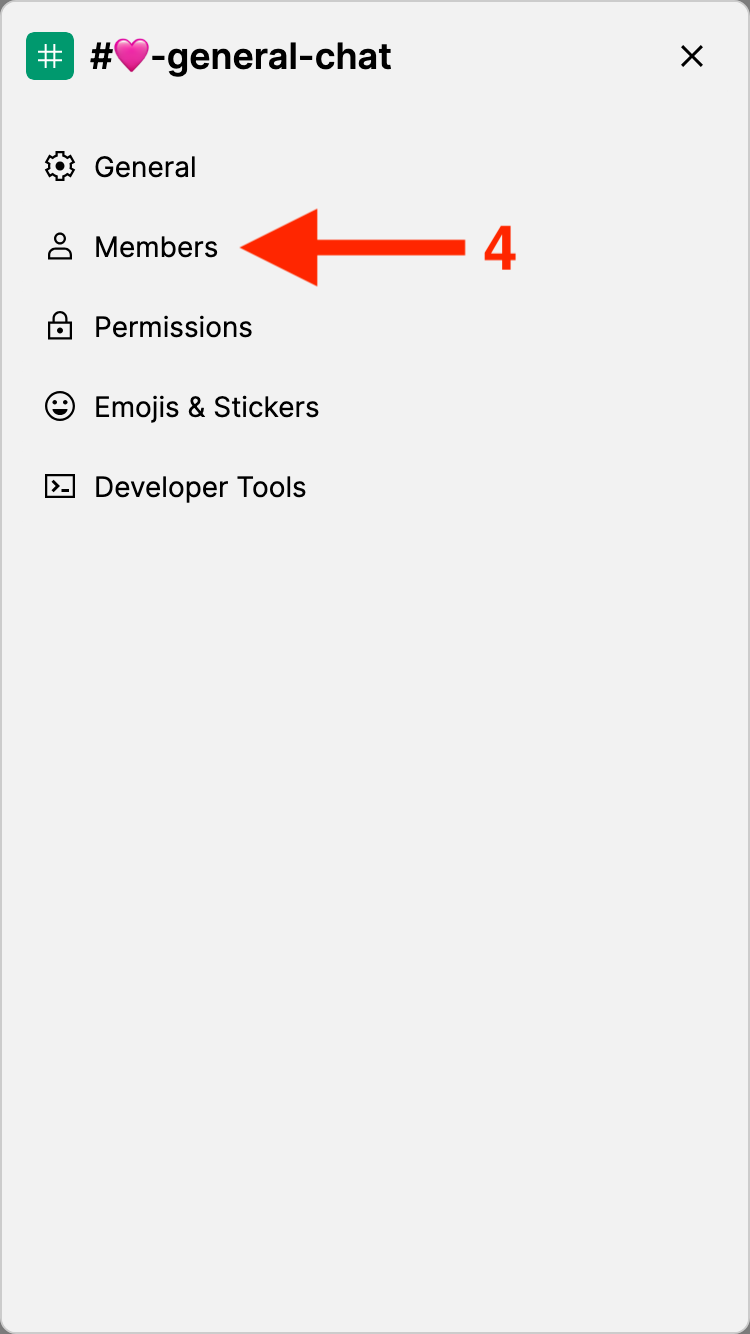
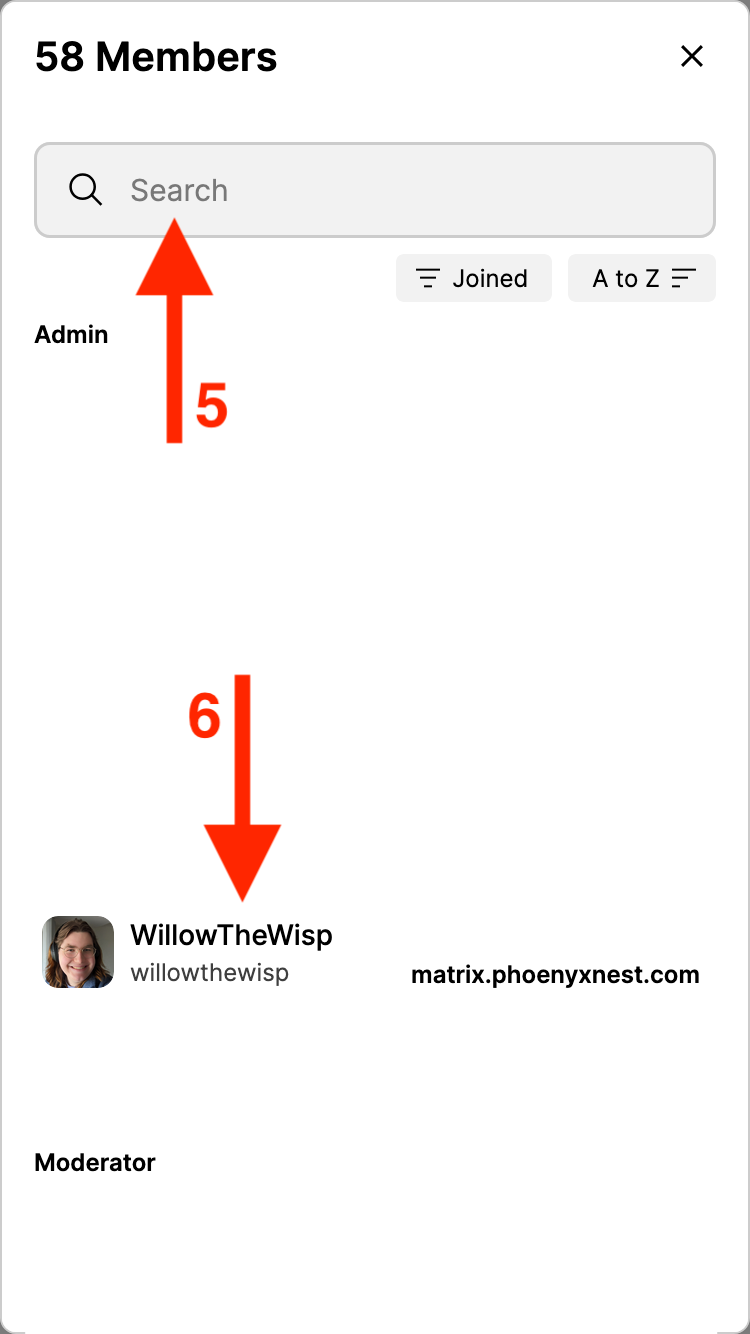
Message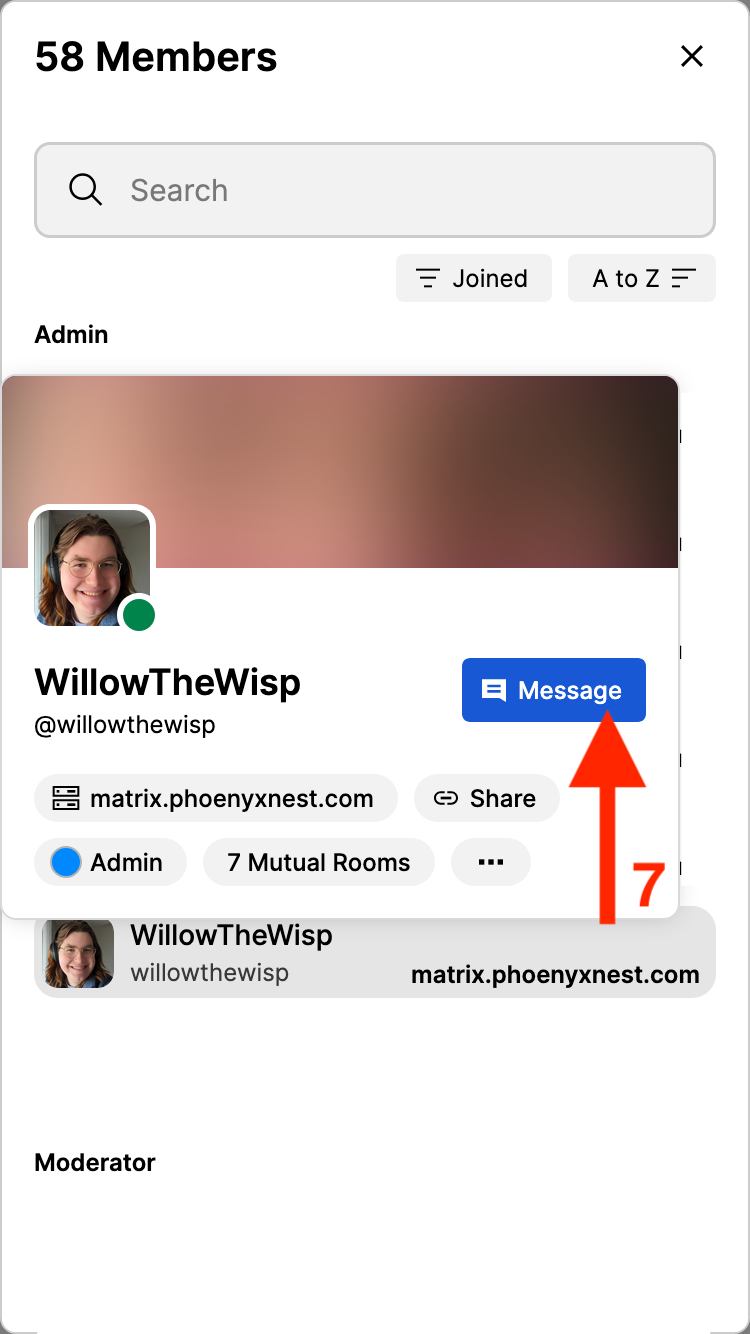
Known bug:
When you press message, the new message screen appears
behind the
Members
and
Room Settings
screens. You may need to hit
the X
to close both screens before you can
see the Create Chat
screen
The Create Chat screen will then appear, with the person's full username already typed in. You also have the option to disable end-to-end encryption.
If you disable end to end encryption, it is technically possible for anyone with admin access to the server to read the messages in that chat. I highly recommend you keep encryption on.
Create
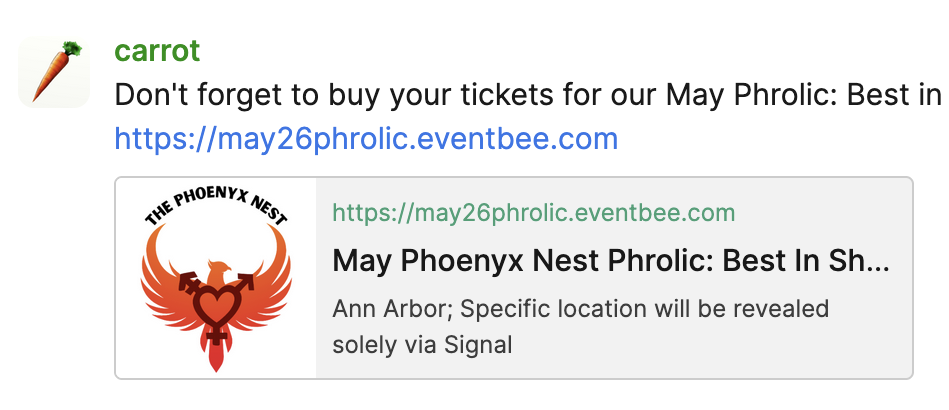
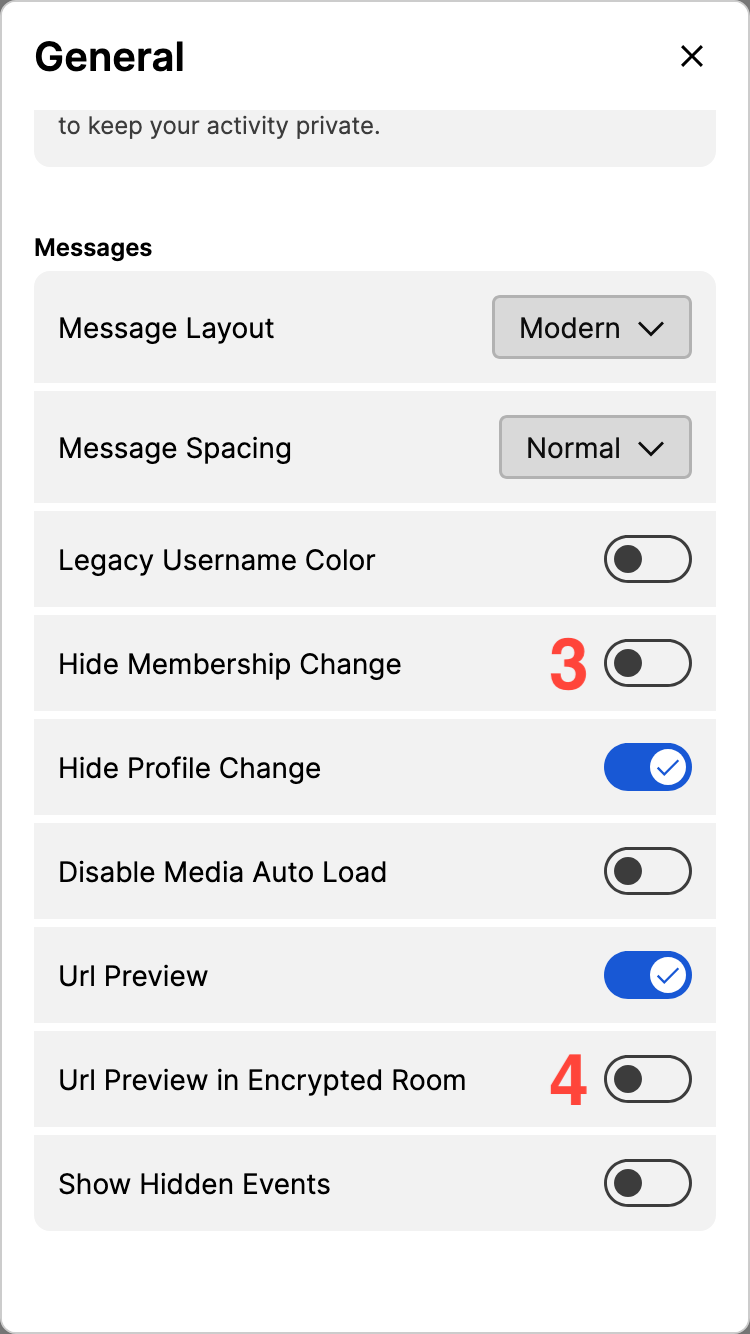
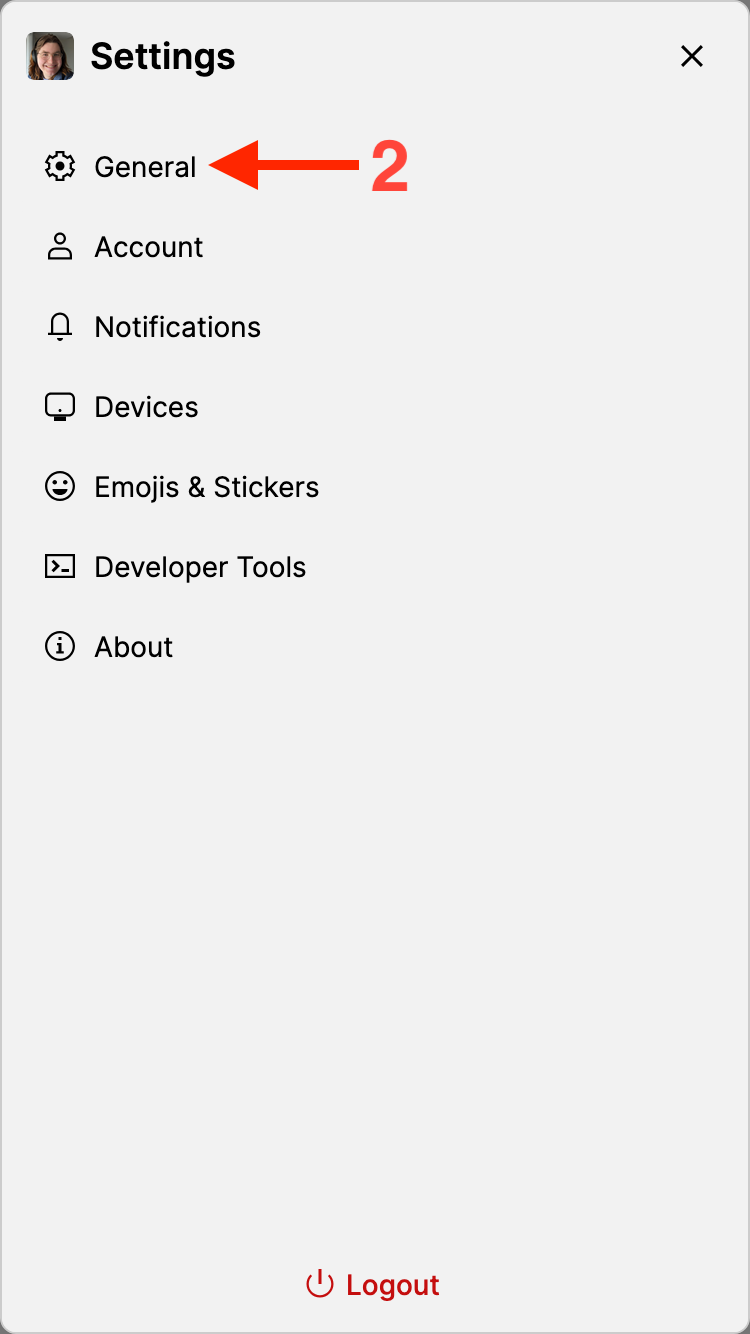
If you'd like to hide the messages showing when users join and leave a room, you can do so on a per-device basis in Cinny's settings! You can also enable URL previews, so you can see some information about links that are sent in chat.
General
Hide Membership Change
Url Preview in Encrypted Room, which will allow you to see information about URLs that are sent, without needing to fully open them, such as: